Selecting and Installing Stainless Steel Kitchen Backsplashes
Using Steel for DIY Summer Entertainment Projects
May 21, 2019
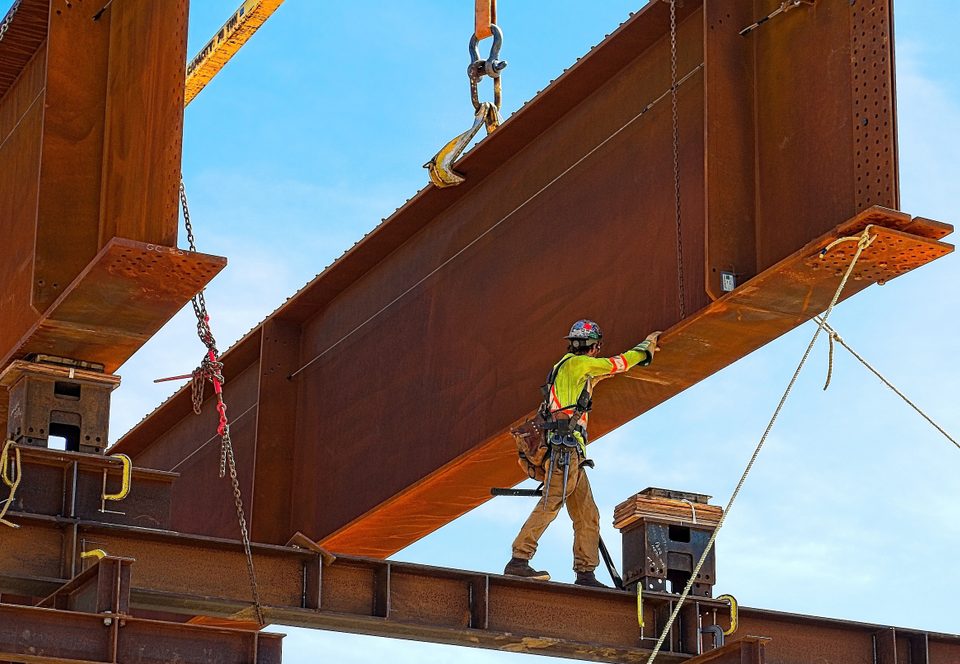
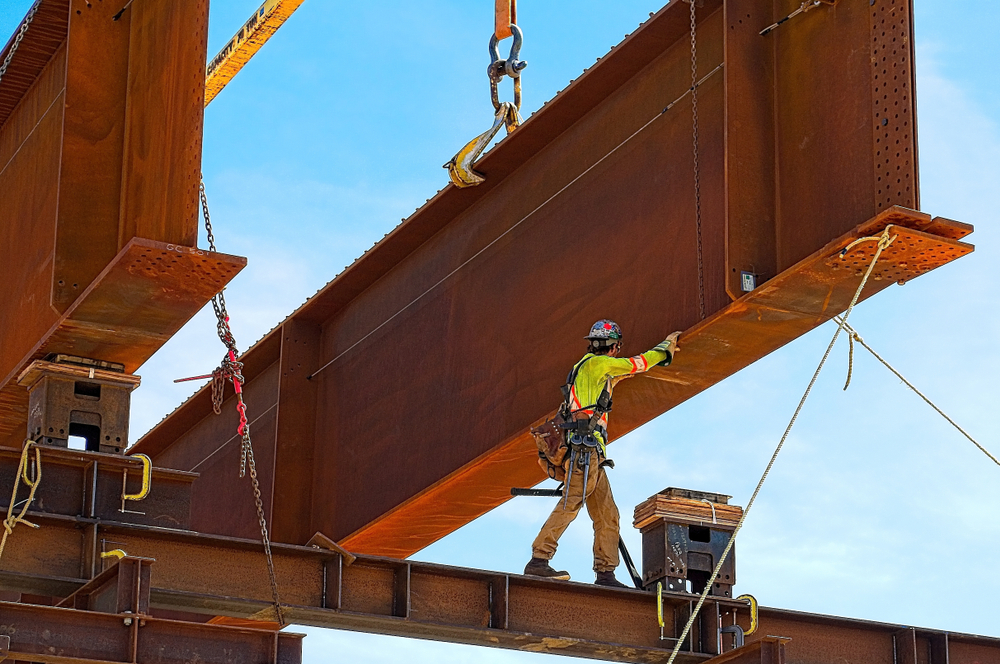
Differences Between Drill Rod, Round Bar and Steel Shafting
June 3, 2019
There are many highly beneficial uses of stainless steel across numerous applications and areas, and one home area that’s high on this list is the kitchen. Due to its corrosion and damage resistance, stainless steel is perfect for an environment like the kitchen, which might include exposure to moisture, heat and other elements.
At Wasatch Steel, we have a wide variety of steel sheet options for one important part of the kitchen that we highly recommend stainless steel for: The backsplash, or the panel located behind the sink or stove in your kitchen that’s meant to protect your wall and tile from splashes of food, liquid or anything else being made. Let’s go over some grade, finish and thickness ranges we’d recommend for a new kitchen backsplash, plus some basic tips on installing a stainless steel backsplash.
Grade and Finish Recommendations
Generally speaking, we’d recommend stainless steel grade 304 for kitchen backsplashes, with a #4 brushed finish. This is a finish that looks almost identical to many stainless steel appliances you’ll find in the kitchen, such as faucets, sink troughs and others. Grade 304 can be cut to any size needed, and is also easily adhered to any wall using basic construction adhesive.
The brushed finish is actually one-side brushed, with a protective plastic layer you can peel off after installation. The other side is a plain matte finish that’s easily glued to any surface. Before ordering, just consider the brushed direction you want – it can either go along the length or the width of the pieces.
Choosing Thickness
Stainless steel is available in a wide range of sheet thicknesses, all the way from 0.030 inches to 0.125 inches. For backsplashes, the most common range here is on the thinner end, between 0.030 and 0.036 inches. You may choose thicker materials for various reasons, but just be aware these will likely cost a bit more.
Installation Tips
Some basic steps and tips for installing a stainless steel backsplash:
- Confirm the wall is flat, including removing or repairing dents or indents.
- Before installing, test sheet placement and create a supporting cleat if the counter doesn’t provide proper support.
- Lay the sheet with the finished side on a flat surface, then apply your adhesive to the back. Ensure adhesive is applied in lines that move back and forth across the entire piece, leaving no area uncovered. Use a putty knife to evenly spread the adhesive.
- Place the sheet against the wall, with the bottom edge resting against either the countertop or the supporting cleat. Press it against the wall when it’s in place.
- Move from side to side on the sheet, pressing each area with a soft cloth. This will remove air bubbles that may form during installation.
- Allow adhesive to dry fully, then remove protective layer on the sheet.
For more on stainless steel and kitchen backsplashes, or to learn about any of our steel bar, tube or other steel services, speak to the staff at Wasatch Steel today.